GUIでGit+GitHub触るための環境構築

目次
事前環境
下記の環境を前提に進めていきます。
GitHubアカウントの作成
こちらからアクセスしまして、サインアップを押します。
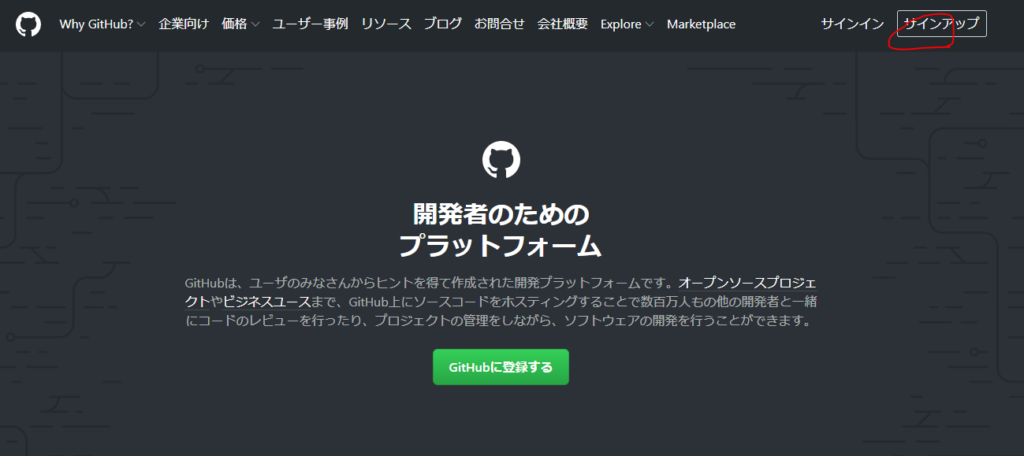
ここからは基本的に全て英語です。
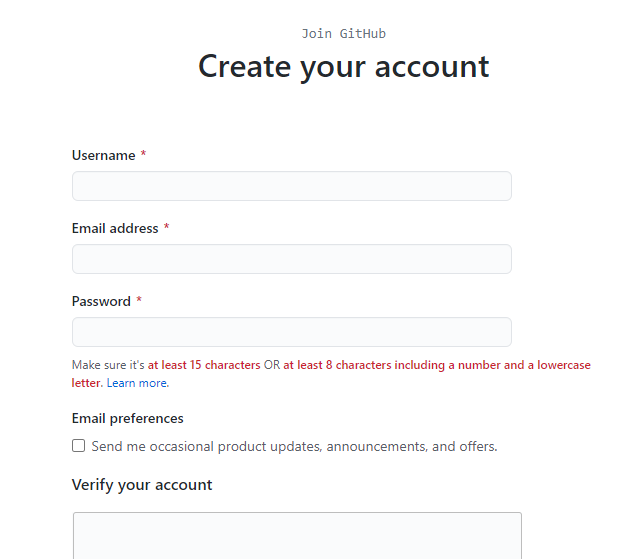
ページの指示に従ってアカウントを作成してください。
GitHubDesktopのダウンロード
GitHubをGUIに操作するためのソフトウェアです。本来ならgit pullとかコマンド操作しなきゃいけないんですが、それをせずにgitを扱うことができます。
下記よりご自身にあったOSのソフトウェアをダウンロードしてください。
ダウンロードしたファイルを開くと

おしゃれな画面が出てきます。しばらく待つと
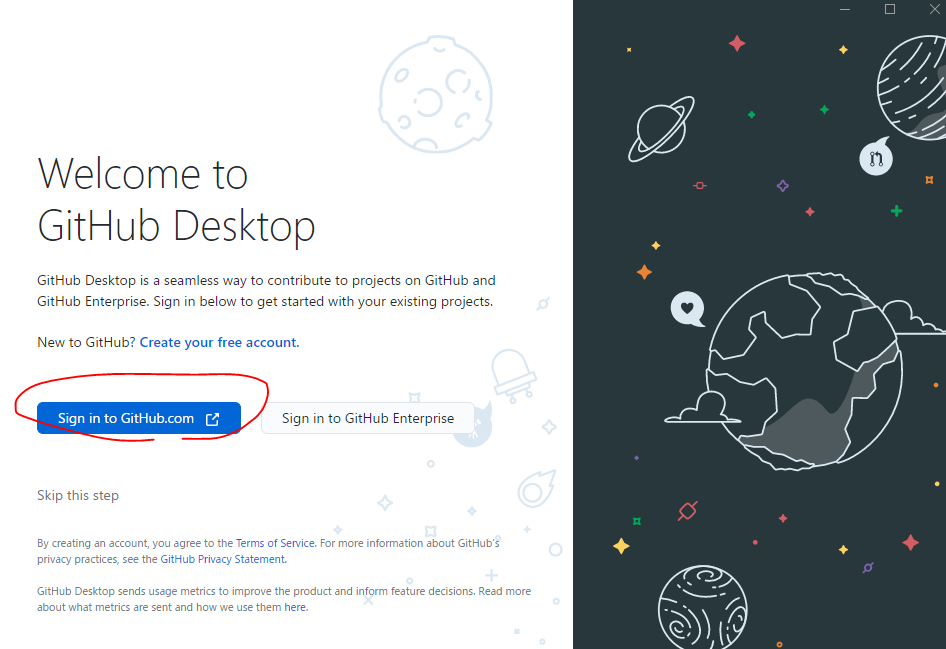
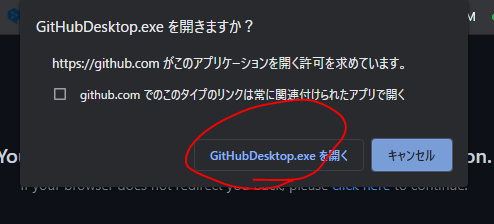
青いボタンをクリックしましょう。ブラウザが立ち上がってログイン画面が出てきます。
先程登録したアカウントでsign inしてください。
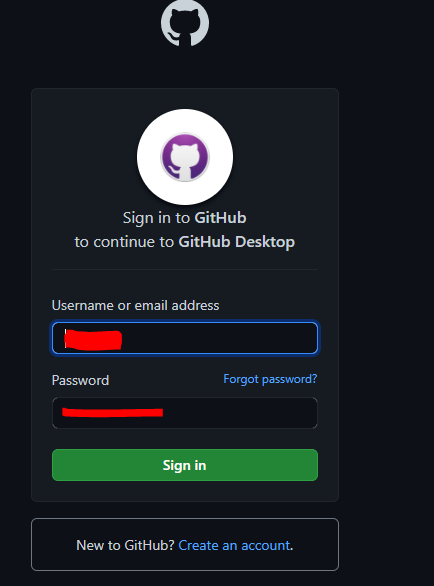
Email含めて予め入力されているかと思います。
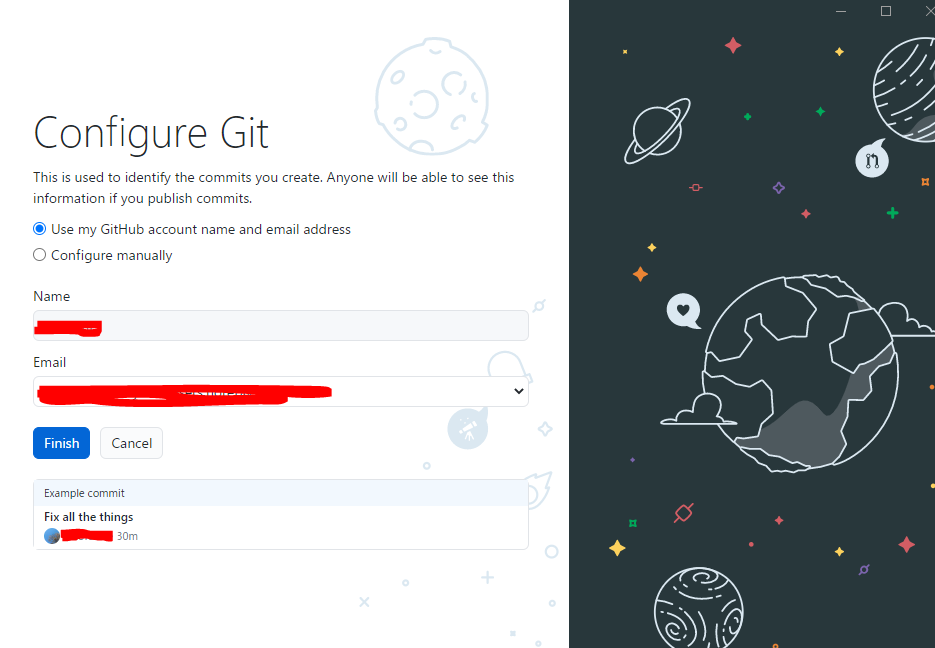
EmailはGithubDesktopをインストールした端末に自動的に割り振られるアドレスなので、アカウント登録したときに用いたものとはまた別です。特に触らずFinish押しちゃいましょう。

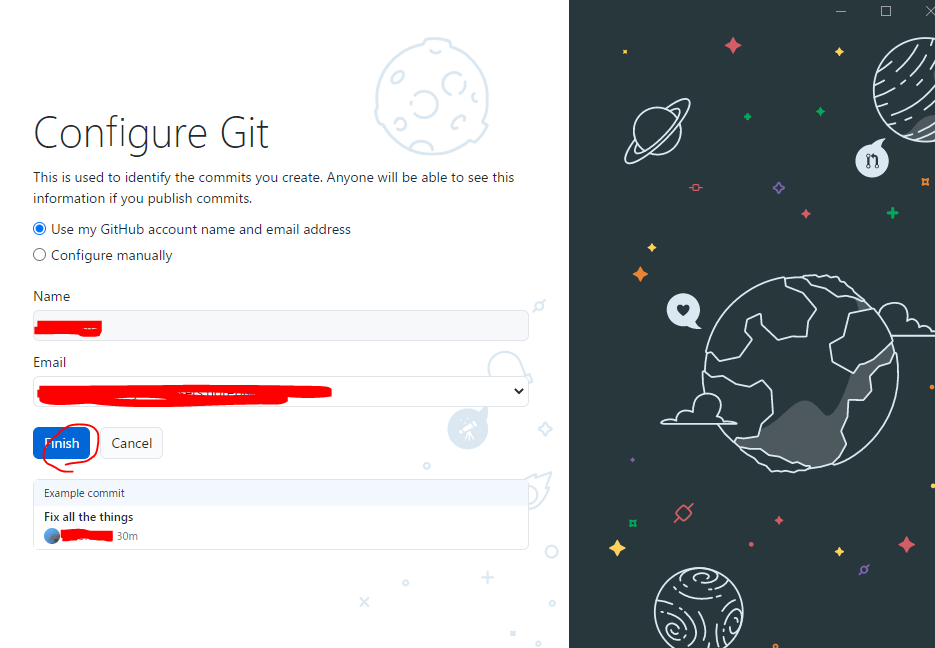
準備完了です。
Gitが使える環境を整備
こちらにアクセスしまして、
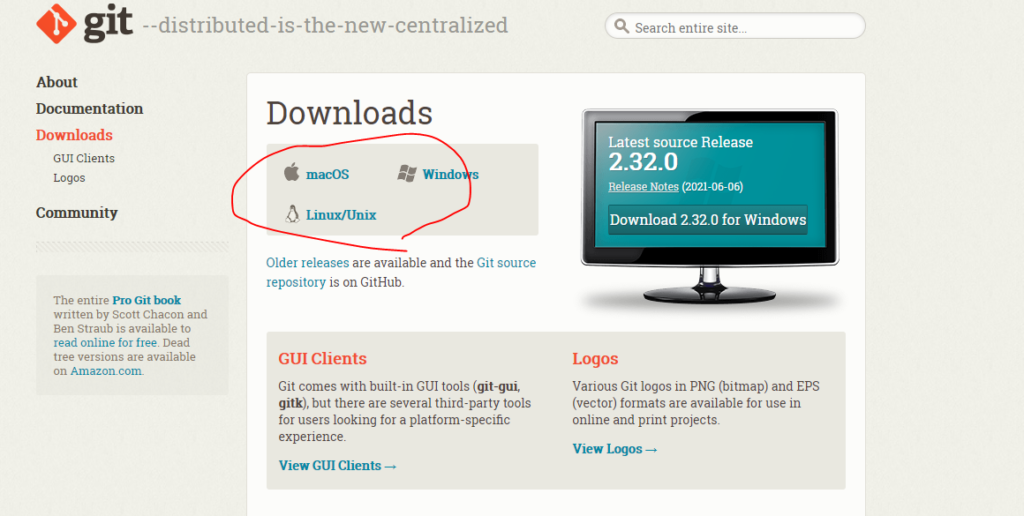
お使いの環境に合うものをダウンローしてください。
ダウンロードされたファイルをクリックして開いて、
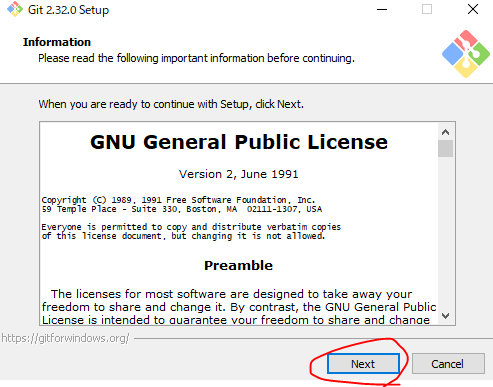
基本「NEXT」ですが、下記画面のときは「Use VisualStudio Code as Git's default editor」を押しましょう。
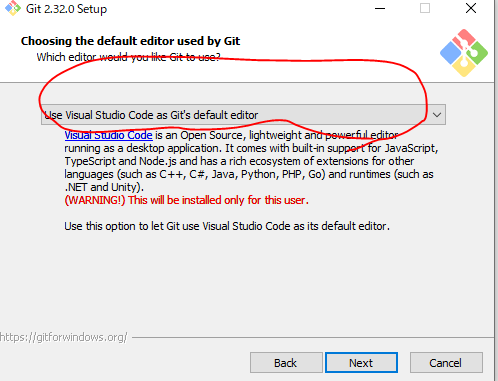
この先はずっと「Next」で大丈夫です。たくさんの選択肢に血迷わず、Nextを押しましょう。
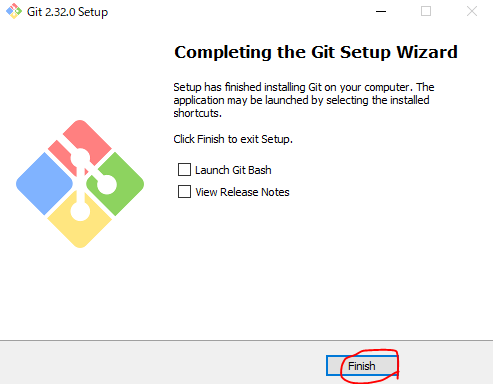
インストールが始まります。
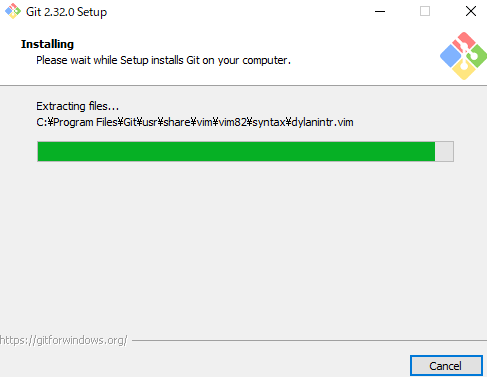
終わり
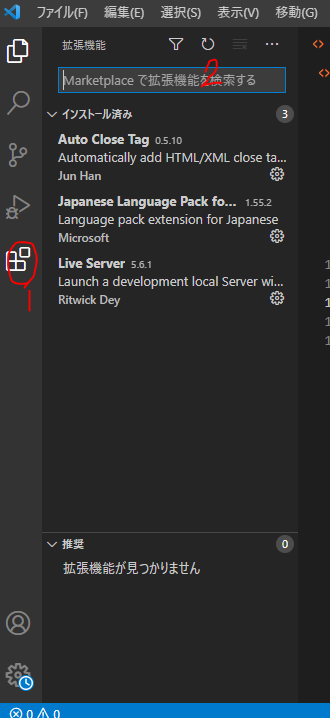
VSCodeにGithubの拡張機能をインストール
VScode自体はデフォルトでGitをサポートしています。拡張機能を入れることでより便利に扱えるので、下記3つの導入をお願いします。
拡張機能の導入はVScode開きまして。
Git History
「Git History」で検索。
こちらの拡張機能でGitのコミット履歴が見やすくなります。
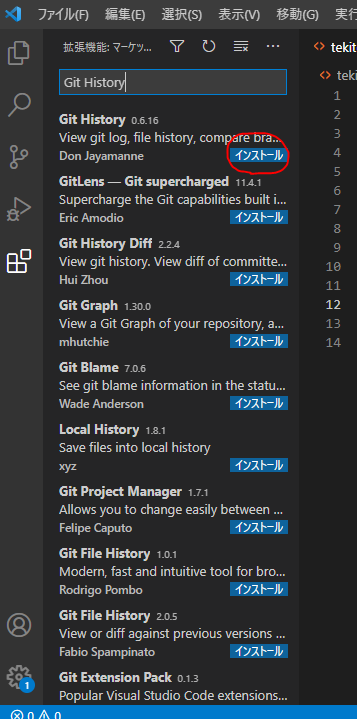
インストールしちゃってください。
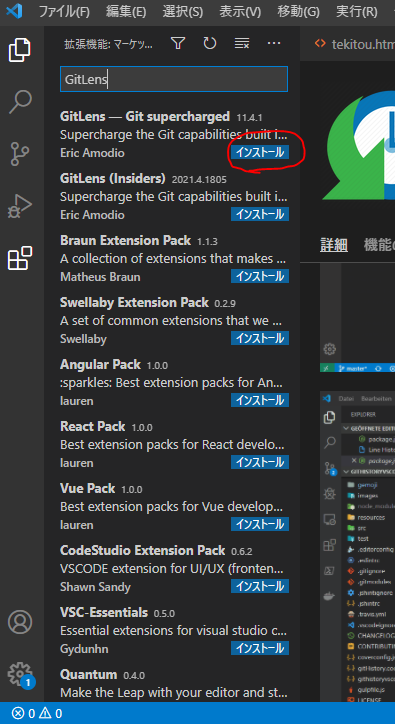
GitLens
「GitLens」で検索してインストール。
こちらの拡張機能でコミットの差分を見やすくしてくれます。
Git Graph
「Git Graph」で検索。
この拡張機能を入れることでブランチの動きを見やすくできます。
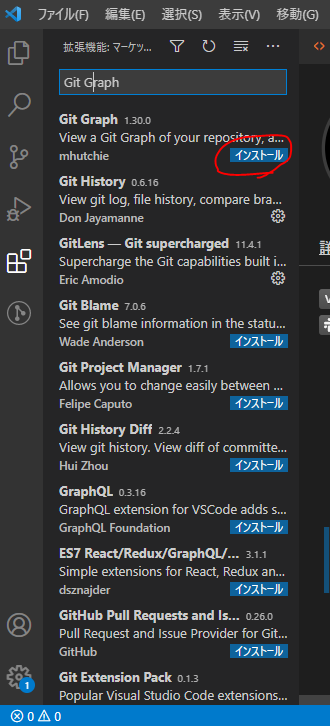
インストールしちゃってください。